Introduction to Halloween Pumpkin Carving
Halloween pumpkin carving is a cherished tradition that has captivated the hearts of many for centuries. Its origins can be traced back to ancient Celtic festivals, particularly the festival of Samhain, where turnips were carved to ward off evil spirits. When Irish immigrants brought this practice to America, they found that pumpkins, which were more abundant, were ideal for carving. This adaptation transformed the humble pumpkin into a symbol of Halloween festivities.
Over the years, pumpkin carving has evolved from simple designs to a creative canvas for artistic expression. Today, it encompasses a vast array of designs—from classic jack-o’-lanterns with expressive faces to intricate patterns and themes that reflect modern culture. This evolution demonstrates how the art of pumpkin carving has been embraced across generations, becoming a staple of Halloween celebrations worldwide.
The cultural significance of carving pumpkins during Halloween goes beyond mere decoration. It serves as a form of bonding experience for families and friends, offering an opportunity to engage in a fun and creative activity together. The tradition often starts with selecting the perfect pumpkin from a local patch, followed by the exciting task of scooping out the insides and drawing or designing the artistic patterns to be carved. As participants engage in this festive activity, they create cherished memories, reinforcing the sense of community and togetherness that Halloween embodies.
Furthermore, the popularity of pumpkin carving has given rise to various local and national contests, where individuals can showcase their creativity and skills. Social media has also contributed to this growing trend, with pumpkin carvings being shared online, inspiring others to participate in this proverbial rite of autumn. Ultimately, the practice of Halloween pumpkin carving is not just about the final product; it is about the joy and connection it fosters among those who engage in it.
Essential Tools for Pumpkin Carving
To create stunning and intricate designs on your Halloween pumpkin, having the right tools is crucial. The basic toolkit for pumpkin carving typically includes a pumpkin carving kit, knives, scoops, and markers. Each of these tools plays a different role in the pumpkin design process, ensuring a fun and safe experience.
First and foremost, a dedicated pumpkin carving kit is highly recommended. These kits usually contain various carving tools designed specifically for use with pumpkins, such as small saws, scoopers, and fine-point knives. They allow for greater precision and control compared to regular kitchen knives, making them ideal for detailed designs.
Next, knives are essential for cutting off the top of the pumpkin and crafting more complex shapes. Ensure to use sturdy, non-serrated knives or those specifically meant for carving. It is advisable to keep these sharp tools out of reach of children to prevent accidents. For adults, practicing safe handling techniques, such as cutting away from your body, is critical.
Additionally, a scooper is needed to remove the pumpkin’s pulp and seeds before carving begins. A good-quality scooper can make this task easier and more efficient, ensuring a clean carving surface. Many carving kits also include this tool, designed to fit the natural contours of a pumpkin.
Lastly, markers or pens are useful for sketching your design on the pumpkin’s exterior. Using washable markers ensures that you can easily modify your design before committing to the final carving. This step is especially important for beginners, as it allows for corrections without damaging the pumpkin’s surface.
In summary, the right tools can significantly enhance your pumpkin carving experience. Investing in a proper carving kit, along with handling knives and other tools safely, will make the process enjoyable for the whole family.
Choosing the Perfect Pumpkin
When it comes to Halloween pumpkin carving, selecting the perfect pumpkin is a crucial first step that can greatly influence the overall outcome of your design. Several factors should be taken into account to ensure you choose a pumpkin that is both suitable for carving and will maintain its appearance throughout the Halloween season.
First and foremost, consider the size of the pumpkin. A medium-sized pumpkin is typically ideal, as it provides ample surface area for intricate designs while still being manageable to handle. Avoid overly large pumpkins, as they can be heavy and difficult to cut, and extremely small pumpkins may lack enough space for your artistic expression.
The shape of the pumpkin is also essential; traditional rounded pumpkins are popular for their classic silhouette, but consider other shapes to add uniqueness to your carved art. Look for pumpkins that have a flat bottom to ensure they stand securely. This will prevent unwarranted tipping and maintain the integrity of your design over time.
Freshness is another critical factor when selecting a pumpkin. Opt for pumpkins that feel firm to the touch and have a smooth, unblemished skin. Soft spots or blemishes can indicate decay, which may compromise the pumpkin’s stability during and after carving. A good test for freshness is to tap the pumpkin lightly; a hollow sound typically signifies that it is ripe.
Lastly, examine the stem, which should be sturdy and green. A healthy stem indicates that the pumpkin was harvested recently. In contrast, a dried or unhealthy stem can signal that the pumpkin may not last long after being carved.
By keeping these considerations in mind—size, shape, freshness, and a healthy stem—you can select a pumpkin that not only enhances your carving experience but also stands the test of time as a festive Halloween decoration.
Simple and Fun Pumpkin Carving Designs
Pumpkin carving is a cherished Halloween tradition that offers endless creative possibilities. For those new to this festive activity, starting with simple and fun designs can make the experience enjoyable for all ages. Below are some classic pumpkin carving ideas that are perfect for beginners.
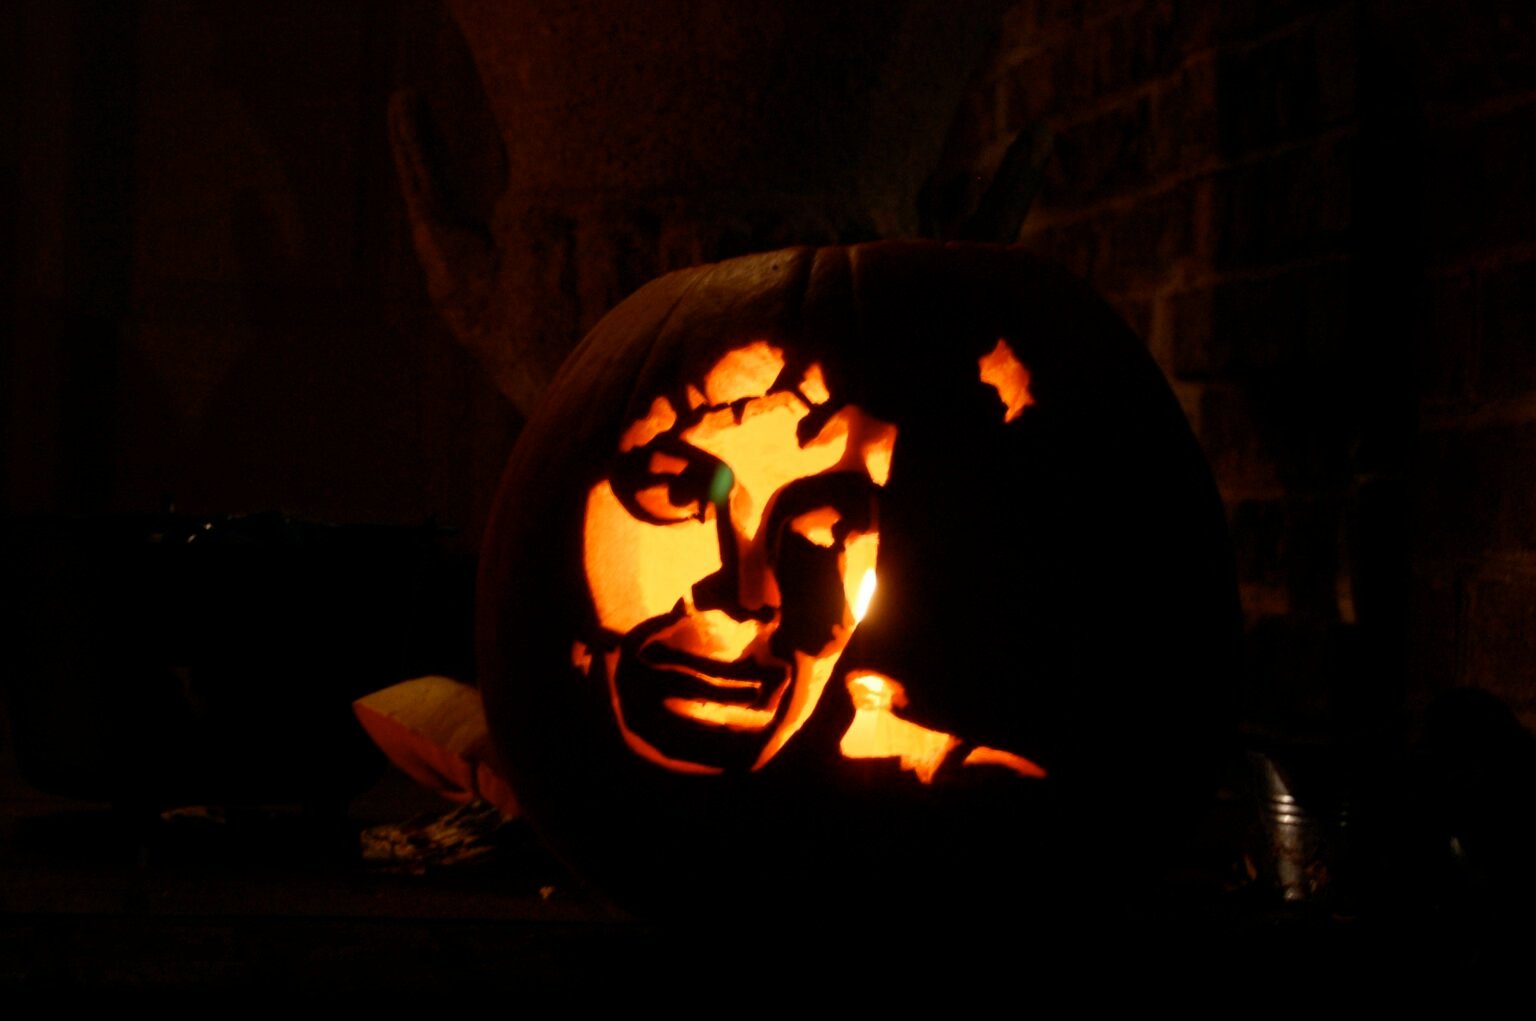
One of the most recognizable pumpkin designs is the traditional jack-o’-lantern. This classic design features a grinning face that can be customized with various expressions, from cheerful to ghastly. To create a jack-o’-lantern, begin by selecting a medium-sized pumpkin, cutting off the top, and scooping out the seeds and pulp. Using a small knife, carve out the eyes, nose, and mouth—all in playful or spooky shapes. For added flair, consider using a candle or LED light inside to illuminate the jack-o’-lantern during the night.
Another popular design is the “spooky face” pumpkin. This can include any number of fun features such as exaggerated brows, jagged teeth, and uneven eyes that add to the eerie effect. To carve this design, sketch the desired face on the pumpkin’s surface with a marker before carving to help guide your cuts. Applying varying depths can create unique textures, enhancing the overall appearance of the pumpkin.
For a playful theme, consider carving a silly character like a cartoonish ghost or a friendly monster. These designs allow for much creativity and can be easily drawn freehand. Use a small, detailed carving tool for intricate designs, or stick to basic shapes for a quicker outcome. Incorporating whimsical elements such as stars or candy corn can bring your pumpkin to life, making it a delightful addition to your Halloween decor.
With these easy and fun pumpkin carving designs, you’re well on your way to creating festive decorations that capture the Halloween spirit. Each of these ideas is not only straightforward but also allows for personal expression, making them perfect for family activities during this seasonal celebration.
Creative Pumpkin Carving Techniques
When it comes to pumpkin carving, implementing creative techniques can significantly enhance a basic design, turning a simple pumpkin into an artistic masterpiece. One of the most effective methods is layering, where the carver removes varying depths of the pumpkin’s skin. This technique introduces a beautiful play of light and shadow, adding depth to the carving. Begin with shallow cuts for the lighter areas and gradually increase the depth for darker sections, allowing the pumpkin’s natural hue to create a stunning contrast.
Another valuable technique involves shading, which can transform an ordinary design into a more intricate and lifelike depiction. Carvers can achieve this by utilizing a fine knife to carve away small details. By focusing on creating varying widths and depths, you can introduce shadows that mimic three-dimensional shapes. Incorporating shading requires practice and patience, yet the result adds a remarkable level of sophistication to even the simplest patterns.
Moreover, experimenting with various cutting styles can further enhance your pumpkin design. Techniques such as scoop carving create unique textures that can evoke different styles ranging from rough to smooth finishes. You might also explore more advanced styles, such as negative space carving, which involves strategically planning out what not to carve, allowing the pumpkin’s natural color to form part of the design.
Encouraging creativity and experimentation is vital for every pumpkin carver. Every individual’s carving style is unique; thus, trying various methods will aid in developing a personalized touch. Don’t hesitate to combine techniques or even create your signature style. With time, effort, and your distinctive creativity, your pumpkin carving will reflect your artistic vision, making Halloween celebrations even more enjoyable.
Tips for Successful Pumpkin Carving
To ensure a fruitful pumpkin carving experience, careful planning and preparation are essential. Start by choosing the right pumpkin. Opt for a firm pumpkin that is free of blemishes and has a sturdy stem. This attention to detail can save you from potential disappointments later on in your carving journey.
Before diving into the physical carving, sketch your design on paper. Planning your design allows you to visualize how it will look and helps in avoiding mistakes once you begin carving. Consider starting with simple outlines, especially if you are a beginner. Digital tools can also aid in creating templates, offering a modern approach to traditional carving.
Once your design is ready, transfer it onto the pumpkin. A popular method is to use a pin or a toothpick to poke small holes along the outline of your design. This strategy serves as a guide while carving. Remember, patience is key during this stage. Rushing can lead to slips that ruin your design.
When it comes to the actual carving, always use proper tools. Specialty pumpkin carving kits usually provide safer and more efficient options compared to kitchen knives, ensuring a smoother carving process. If you are working with children, supervising their activities and providing age-appropriate tools is critical for safety.
Moreover, don’t forget to take breaks. Carving can be intensive, and stepping back periodically can give you a fresh perspective on your design. Also, keeping your pumpkin in good condition is vital. Carving should ideally be done a few days before Halloween, as this timing allows for your pumpkin to last through the festivities. Use a combination of vinegar and water to clean it, and refrigerate when possible; such practices can prolong its life.
By following these tips, including thoughtful planning, appropriate tools, and break periods, your pumpkin carving experience is likely to be enjoyable and yield impressive results that brighten your Halloween celebrations.
Preserving Your Carved Pumpkins
Carving pumpkins is an exciting Halloween tradition, but the challenge often lies in preserving these creations. To extend the life of your carved pumpkins, there are several effective strategies you can employ.
One popular method is to create a bleach solution. This can be made by mixing one tablespoon of bleach with one quart of water. After carving, submerge your pumpkin in this solution for a few minutes, then allow it to dry completely. The bleach helps to ward off mold and bacteria that can hasten decay, keeping your pumpkin looking fresh for a longer time.
Another effective preservation technique is the application of petroleum jelly on the cut surfaces of your pumpkin. This acts as a barrier against moisture loss and helps to maintain the vibrant color of your carved design. By covering the exposed areas with a thin layer of petroleum jelly, you can protect them from drying out and becoming discolored.
There are also commercial sealing products available specifically designed for preserving carved pumpkins. These sprays create a protective film over the pumpkin, which can safeguard it from the elements and keep it looking vibrant. Ensure you follow the manufacturer’s instructions for optimal results.
For those hoping to display their creations outdoors, placing the carved pumpkin in a cool, shaded area can also mitigate rapid deterioration. Avoiding direct sunlight can help maintain the integrity of your design.
Additionally, it can be beneficial to bring your pumpkins indoors at night or during adverse weather to further prolong their lifespan. By implementing these preservation techniques, you can maximize the longevity and visual appeal of your carved pumpkins, making your Halloween festivities even more enjoyable.
Display Ideas for Your Carved Pumpkins
Displaying your carved pumpkins in a creative and visually appealing manner can elevate the festive spirit of Halloween. One effective way to showcase your pumpkins is by arranging them in clusters. Grouping pumpkins of various sizes can create an attractive focal point in your garden, porch, or entryway. You can play with levels by placing smaller pumpkins on raised surfaces like crates or hay bales, which adds depth and interest to the display.
Lighting plays a significant role in enhancing the allure of your carved pumpkins. Consider using tea lights or LED candles placed inside the pumpkins to create a glowing effect after sunset. For a more dramatic look, string lights can be wrapped around or intertwined with the pumpkins, casting a warm light that attracts attention. Colored lights, such as orange and purple, can also be used to give an extra spooky touch, transforming the atmosphere of your display.
Don’t limit your creativity to just the ground. Hanging carved pumpkins can add a unique twist to your presentation. Use fishing line to suspend smaller pumpkins from tree branches or porch ceilings. This creates a whimsical and enchanting vibe, especially when combined with gentle wind movements that causes them to sway. Additionally, consider incorporating props or themes around your coordinated pumpkin display. For instance, placing hay, cornstalks, or autumn leaves around your pumpkins can foster a rustic feel. Themed displays, such as haunted houses or spooky graveyards, can also enhance the storytelling aspect of your arrangement.
Lastly, think about the environments where your carved pumpkins will be shown. If you are decorating for an event, creating a backdrop with black cloth or cobwebs can amplify the impact of your pumpkin display. Ultimately, the way you present your carved pumpkins can transform simple designs into captivating pieces of art that delight guests and passersby alike.
Conclusion: Enjoying the Art of Pumpkin Carving
As we conclude our exploration of simple Halloween pumpkin carving, it’s vital to recognize the joy and creativity that this activity fosters. Carving pumpkins serves not only as a delightful pastime but also as a cherished tradition for many families during the Halloween season. The act of selecting a pumpkin, brainstorming design ideas, and ultimately bringing those ideas to life can become a memorable bonding experience.
Engaging in pumpkin carving allows individuals to express their creativity while participating in a time-honored custom. Each carved pumpkin tells its unique story, reflecting the personality and artistic flair of its creator. Furthermore, whether one opts for a whimsical smiley face or a more intricate design, the process itself encourages imagination and innovation. Every year, families can look forward to gathering around their pumpkins, sharing laughter, and showcasing their artistic efforts.
We invite you to embrace this festive art form and make it a part of your Halloween celebration. Encourage everyone in your household to contribute their designs, and possibly even make it a friendly competition. Once completed, share your remarkable pumpkins with friends and family or through social media, allowing others to admire the creativity that embodies the spirit of Halloween.
Ultimately, pumpkin carving is more than merely preparing for Halloween; it is about creating lasting memories and fostering a sense of community. So grab your carving tools, select those perfect pumpkins, and enjoy the rewarding experience that this beloved tradition offers. Happy carving!
