Introduction: The Need for a Refresh
Every home undergoes wear and tear over time, and the kitchen is no exception. As the heart of the home, it is also one of the most frequently used spaces, leading to signs of aging and outdated decor becoming increasingly apparent. The motivation to refresh my kitchen stemmed from a combination of factors that included faded paint, worn-out cabinetry, and a general sense of clutter that contributed to an uninspiring atmosphere. I found myself longing for a more functional and inviting space where I could enjoy cooking and entertaining.
Everyone deserves a kitchen that reflects their personal style and meets their daily needs, yet the assumption that kitchen renovations require substantial financial investments can often deter homeowners from pursuing a much-needed update. However, with careful planning and a clear vision, I discovered that it is possible to revitalize a kitchen for under $500. This experience was not just about aesthetics; it was also an opportunity to enhance functionality within the existing layout, improve storage solutions, and create a brighter ambiance, all while adhering to a small budget.
In this blog post, I will share the journey and results of my kitchen refresh, detailing the budget-friendly strategies and thoughtful choices I made throughout the process. From selecting paint colors to incorporating decorative touches and maximizing storage options, I aim to illustrate that a beautiful kitchen doesn’t have to come at a high cost. Join me as I outline the steps taken, the challenges faced, and the satisfying outcome of creating a rejuvenated cooking space that infused new life into my home without breaking the bank.
Setting a Budget: How I Planned for $500
Setting a strict budget is crucial for any home improvement project, especially when the goal is to revamp a kitchen without exceeding $500. Before embarking on this renovation journey, I committed to careful planning and research to categorize expenses effectively while ensuring that I remained within my budget constraints.
The first step was to outline all the potential expenses associated with the kitchen renovation. I divided these expenses into three primary categories: materials, decor, and labor. This structured approach allowed me to estimate the costs more accurately by allocating a specific portion of the budget to each category. For instance, I allocated $250 for materials, which included paint, cabinetry, and countertops. To save costs, I opted for affordable yet durable options.
In terms of decor, I set aside $150, allowing for small but impactful changes such as new kitchen towels, utensils, and decorative elements that could enhance the kitchen’s overall aesthetic. I emphasized the importance of selecting decor items that aligned with my renovation vision while remaining budget-friendly.
Lastly, I budgeted $100 for labor, which I intended to minimize by handling as many tasks as possible myself. This included painting, installing cabinets, and laying down a new backsplash. I found numerous tutorials and guides online that inspired confidence in my DIY abilities, which proved invaluable in keeping labor costs low.
To ensure that all costs remained within the predetermined limit, I meticulously tracked each expenditure throughout the renovation process. Utilizing spreadsheets and budgeting apps helped maintain clarity about my spending. By adhering to this well-structured budget, I successfully revitalized my kitchen, demonstrating that thoughtful planning is essential for achieving cost-effective home improvements.
Assessing DIY vs. Professional Help
When embarking on a kitchen revamp under a budget of $500, a crucial consideration is whether to take on the renovations as a do-it-yourself (DIY) project or to enlist the assistance of professional help. This decision-making process can significantly influence the overall outcome of the project, affecting both time and financial constraints.
One primary factor to consider is the skill level required for various tasks. For instance, minor updates such as painting cabinets, replacing hardware, or installing peel-and-stick backsplash tiles can be tackled by those with basic DIY skills. However, more complex tasks such as plumbing updates, electrical work, or custom cabinetry often necessitate professional intervention to ensure safety and compliance with local regulations. An honest assessment of one’s own capabilities is essential to identify what is feasible as a DIY project.
Time constraints also play a significant role in determining whether to proceed with DIY or hire professionals. Undertaking renovations on weekends or in the evenings can stretch the timeline considerably, especially if the projects encounter unforeseen challenges. Therefore, if time is of the essence, it may be more prudent to seek professional help for expedited results, even if it means a higher cost.
Moreover, the specific projects themselves can influence this decision. A short list of tasks such as changing fixtures or applying a fresh coat of paint might be well-suited for DIY efforts. Conversely, tasks that require specialized tools or workmanship, like installing a new countertop, may be best left to trained professionals. By carefully balancing these factors, one can make a well-informed decision between managing renovations personally or enlisting professional assistance, ensuring an efficient and enjoyable kitchen revamp experience.
Choosing a Design Aesthetic: Inspiration and Ideas
Selecting a design aesthetic for my kitchen renovation was a pivotal component of the overall transformation. Keeping in mind my budget of $500, I began by considering several popular styles, each offering distinct characteristics and atmospheres. The modern aesthetic, known for its sleek lines and minimalistic features, appealed to my desire for an uncluttered space. However, I soon realized that the incorporation of required materials and appliances could exceed my budget.
Next, I explored a minimalist approach, which emphasizes simplicity and functionality. With a focus on neutral colors, open spaces, and minimal decor, the minimalist style promised to be both practical and visually appealing. Furthermore, I sourced ideas from platforms like Pinterest and various home design magazines, which not only provided visual inspiration but also guidance on affordable solutions.
Additionally, I considered a farmhouse aesthetic, characterized by warm tones, wooden elements, and a cozy ambiance. This style resonates with my personal tastes and allows for DIY projects that can save money. I found numerous Pinterest boards showcasing before-and-after examples, which helped me envision how I could replicate similar effects in my own kitchen without breaking the bank.
Through this process, I learned the significance of gathering inspiration from diverse sources, including friends who had successfully revamped their kitchens on a budget. By collating ideas and highlights from various design styles, I was able to critically evaluate what suited my preferences while staying within financial constraints. Ultimately, I settled on a fusion of minimalist and farmhouse elements that would harmonize my vision with practicality.
Shopping Smart: Where to Get the Best Deals
When revamping your kitchen on a budget, knowing where to shop can make a significant difference. Local stores, online marketplaces, thrift shops, and budget-friendly retail chains are excellent places to start your search for affordable materials and decor. Each option offers unique advantages and potential savings.
Local hardware and home improvement stores often hold seasonal sales and clearance events, making them ideal for purchasing essential items such as paint, cabinetry, and flooring. It’s advisable to sign up for newsletters, as these stores frequently send out notifications about discounts or special promotions, helping to maximize your savings. Furthermore, checking the “scratch and dent” sections can unveil hidden gems, significantly reducing costs.
Online marketplaces, including websites like Amazon and eBay, provide an extensive range of kitchen decor and essentials. Users should explore these platforms carefully, filtering options by price and reading customer reviews for quality assurance. Additionally, joining loyalty programs or utilizing cashback websites can further enhance your shopping experience by providing extra savings or rewards on purchases.
Thrift shops and consignment stores present another fantastic opportunity for budget-conscious shoppers. These venues often feature unique kitchenware and decorative items at a fraction of the retail price. Investing some time in thrift store visits can yield unexpected treasures, ranging from vintage dishes to stylish appliances, all while supporting sustainable practices.
Budget-friendly retail chains like IKEA and Walmart also provide extensive selections of affordable kitchen essentials. Visiting during holiday sales or promotional events can result in substantial savings. Moreover, consider browsing discount furniture stores, as they frequently offer quality products at competitive prices.
In summary, shopping smart involves exploring various avenues to discover the best deals. By utilizing local resources, online platforms, thrift shops, and budget retailers, homeowners can effectively revamp their kitchens without exceeding their financial limits.
Key Improvements: Essential Upgrades That Made a Difference
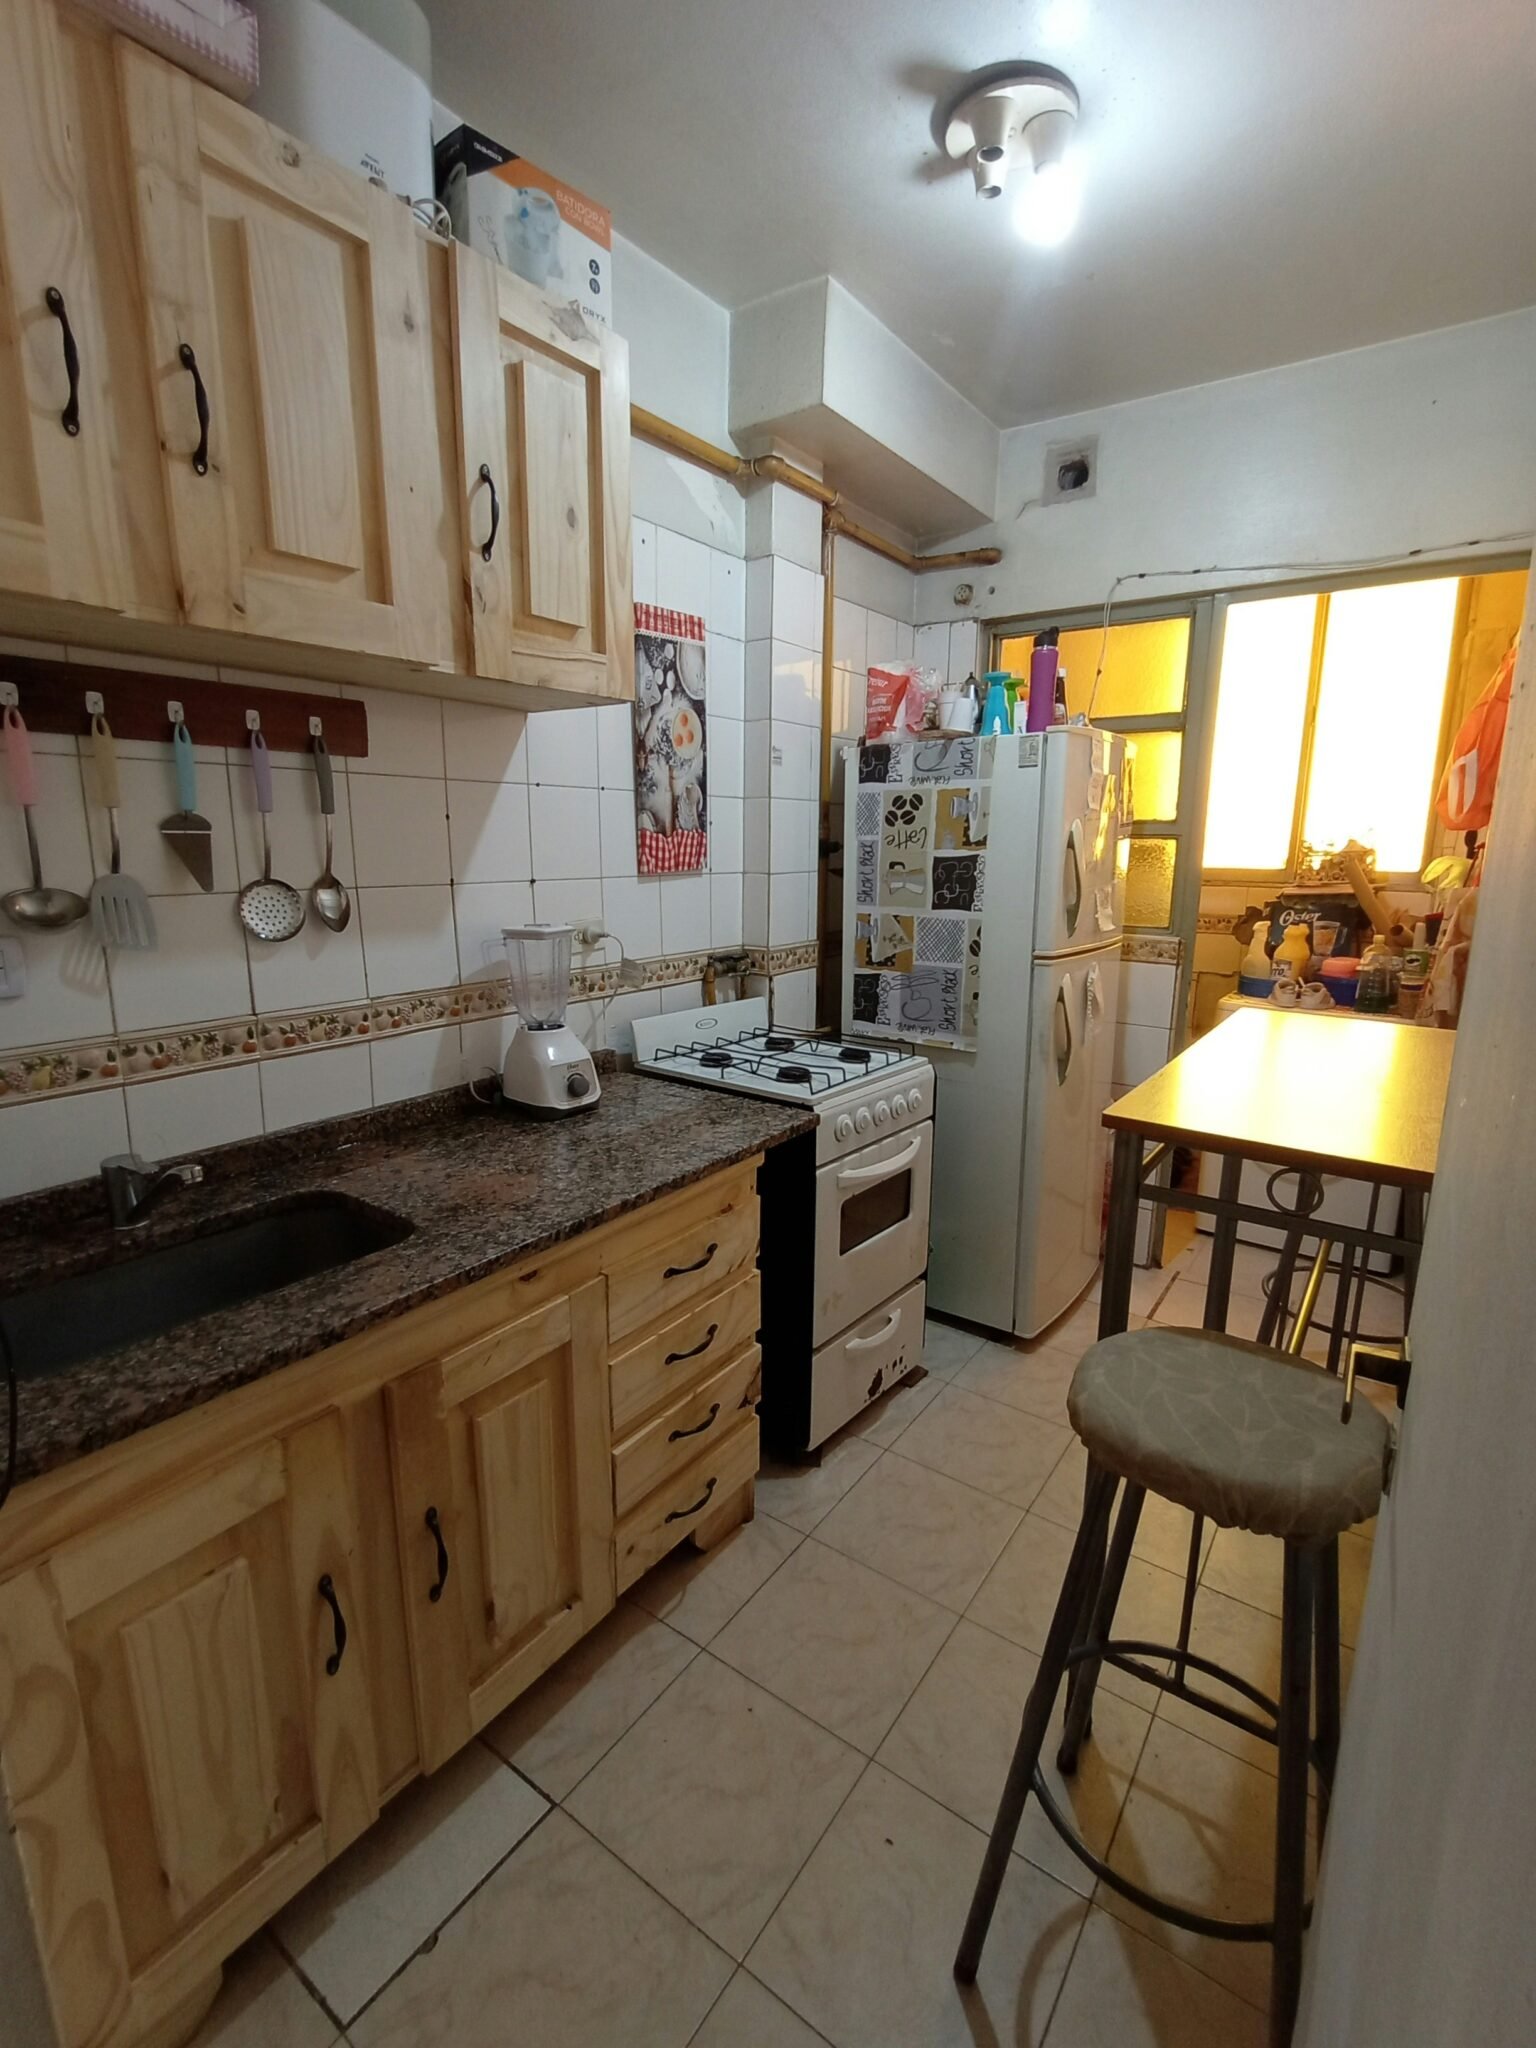
Revamping my kitchen was a project that provided both aesthetic appeal and practical improvements without breaking the bank. One of the most significant upgrades was painting the existing cabinets. With a fresh coat of paint, the cabinetry transformed from outdated to modern. I selected a neutral color to enhance light and create an airy space, which made the kitchen feel considerably larger and more inviting.
Another crucial upgrade was updating the hardware on the cabinets and drawers. Swapping out old knobs and handles for more contemporary designs not only improved the kitchen’s overall look but also made the cabinets easier to open. Choosing metallic finishes helped in adding a touch of elegance while harmonizing beautifully with the newly painted surfaces.
In addition to these enhancements, I added a stylish backsplash that served as a focal point. Selecting a peel-and-stick option made the installation straightforward and cost-effective. The new backsplash added texture and visual interest, seamlessly tying the design elements together and elevating the kitchen’s functionality.
Lastly, refreshing the countertops significantly improved the kitchen’s appeal. Rather than investing in expensive materials, I opted for a countertop refinishing kit, allowing me to achieve a polished look without the typical costs associated with new countertops. This transformation not only provided a sleek surface for meal preparation but also a clean and inviting environment for daily activities.
Each of these key upgrades contributed not just to the overall aesthetics but also enhanced the functionality of the kitchen, making it a more enjoyable space for cooking and entertaining. Paying attention to small details can yield significant results, demonstrating that a limited budget does not have to compromise the quality of home improvements.
Personal Touches: Adding Decor and Accessories
When revamping a kitchen, personal touches can significantly elevate its ambiance and make it feel like home. By carefully selecting decorative items, it’s possible to create a space that not only looks appealing but also reflects your personality. One effective approach to achieving a welcoming atmosphere is through the use of artwork. Whether it’s a colorful canvas print, vintage posters, or handmade crafts, hanging art in the kitchen can add character and vibrancy. Choose pieces that either complement or contrast the kitchen’s color scheme to create an engaging visual experience.
In addition to artwork, incorporating greenery through the use of plants is an excellent way to breathe life into the kitchen. Plants not only purify the air but also introduce a sense of calm and tranquility. Herbs such as basil, mint, and rosemary can serve a dual purpose, adding both aesthetic appeal and culinary functionality. When selecting plant pots, consider colors and designs that coordinate with your kitchen theme for a cohesive look.
Accessories play a pivotal role in tying the entire design together. Items such as decorative bowls, stylish cutting boards, and unique utensils can serve as functional decor that adds depth to your kitchen. When choosing these accessories, seek out materials and designs that reflect your style while remaining practical. Consider items made from wood, ceramic, or even modern metals to add texture and interest to your countertops and shelves.
Ultimately, the goal is to create a warm and inviting kitchen environment. Thoughtfully chosen decor and accessories contribute to a personalized style that enhances the overall feel of the space. By focusing on these aspects, you can achieve a distinctive kitchen that is not only beautiful but also a true reflection of who you are.
Lessons Learned: What Worked and What Didn’t
Revamping a kitchen on a budget can be a daunting task, but through careful planning and execution, I discovered a number of strategies that worked effectively, as well as challenges that arose during the process. A key takeaway from my experience was the importance of setting a clear budget. By establishing a maximum expenditure of $500, I was able to focus my efforts on cost-effective solutions that met my stylistic and functional needs. This not only ensured that I remained financially disciplined but also helped me prioritize where to allocate funds.
One successful strategy was leveraging DIY techniques for various projects. For instance, I opted to repaint my cabinets rather than replace them, which significantly reduced costs while still achieving a fresh look. Additionally, I chose to install peel-and-stick backsplash tiles, a relatively easy task that provided a modern aesthetic without the expense of traditional installation methods. These choices not only elevated the kitchen’s appearance but also instilled a sense of accomplishment.
However, not every decision was without its hurdles. One of the challenges I encountered was underestimating the time required for each task. Initially, I scheduled my improvements over weekends, but unexpected delays arose due to drying times and unanticipated repairs. This taught me the importance of flexibility in timelines and allowing for extra days to complete each project, especially for finishes such as painting or staining.
Another lesson learned was the significance of researching products thoroughly. While I did find several inexpensive options, a few items turned out to be of lower quality than anticipated. In retrospect, I would recommend reading reviews and considering sometimes investing slightly more in durable products. By integrating these insights, readers can develop a strategy that combines creativity, practicality, and awareness of costs in their kitchen revamp projects.
Conclusion: Enjoying the New Space and Staying on Budget
Revamping my kitchen for under $500 has truly been a rewarding experience, demonstrating that significant changes can be achieved without exceeding a modest budget. Through an array of strategic updates, I was able to breathe new life into a space that serves as the heart of my home. From replacing hardware to applying a fresh coat of paint, each modification contributed to a more aesthetically pleasing and functional kitchen.
This project not only transformed my kitchen but also instilled a sense of accomplishment and creativity. The knowledge that I could significantly enhance my living space without breaking the bank is both empowering and liberating. As I now enjoy the revitalized atmosphere, I feel encouraged to tackle other areas of my home with the same enthusiasm and budget-conscious approach.
For those contemplating a similar endeavor, it is essential to remain focused on achievable goals while maintaining a flexible mindset. Create a plan that prioritizes the updates that will make the most impact, and actively seek opportunities for savings, such as DIY projects or repurposing existing items. This experience serves as a reminder that anyone can experience the joys of a refreshed space—even when finances are tight.
Furthermore, keeping the new space looking pristine requires ongoing attention. Regular cleaning and maintenance of appliances and surfaces will help preserve the charm of the updates. Engaging in an occasional rearrangement of decor can also infuse freshness into the space, ensuring it continues to feel new and inviting.
Overall, revamping my kitchen was not just about aesthetics; it was about breathing new life into a familiar environment while staying within a budget. I encourage all readers to embark on their own home transformation journeys, exploring their creativity and resourcefulness along the way.
